First, decide what should remain
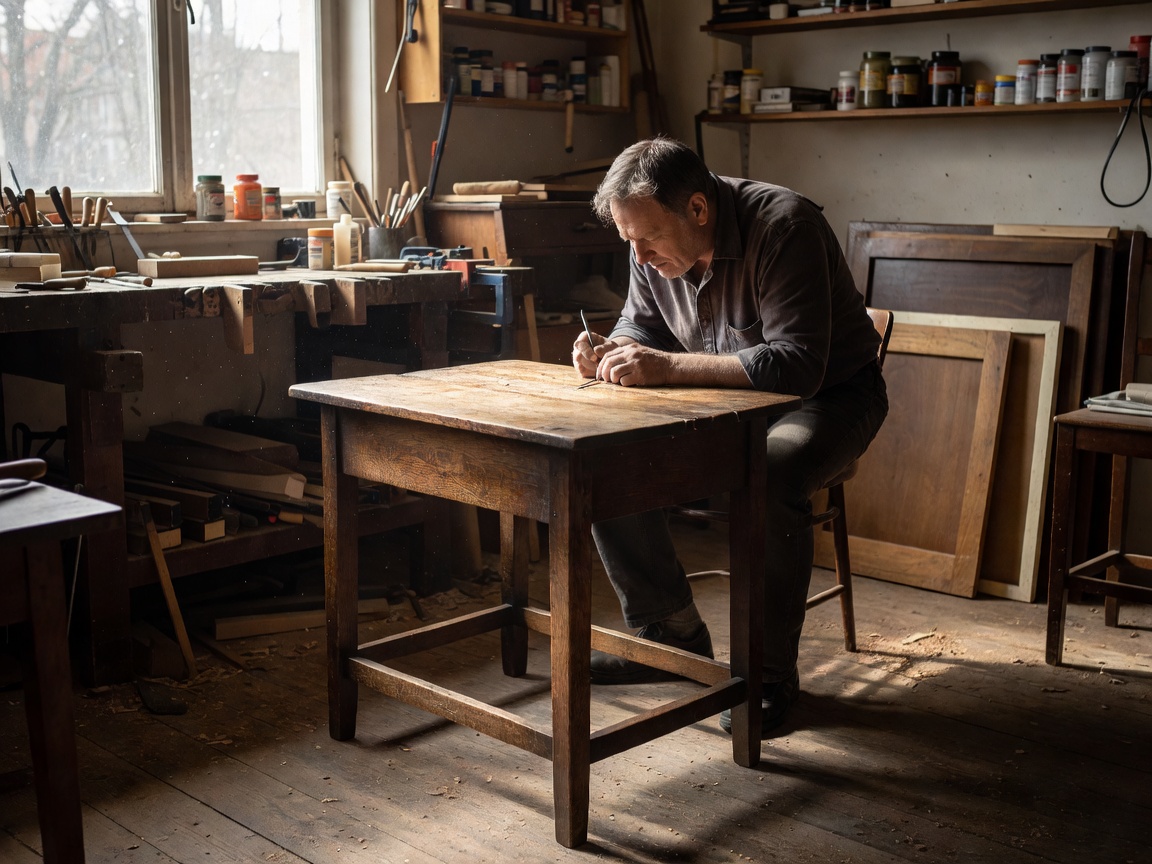
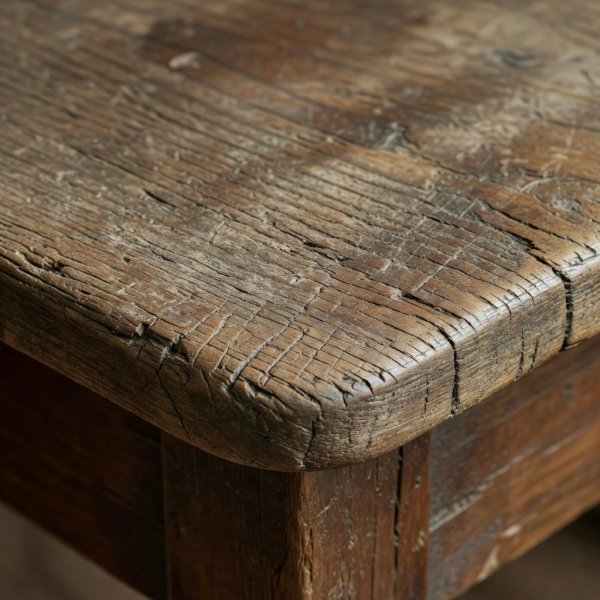
Imagine an inherited occasional table. The front edge is gently rounded by use, a cup ring interrupts the top and one leg moves at the rail. The owner wants it beside a reading chair, not in a display case. Our starting brief is deliberately modest: preserve the worn edge and existing finish where sound, and investigate the movement before returning the piece to use.
That brief matters because “restore it” could otherwise mean several incompatible things. It might mean renewed structural reliability, a uniform decorative finish or a return to an imagined original appearance. Writing down the desired outcome prevents a cosmetic preference from quietly becoming permission to remove historic material.
Before: record condition without a verdict
Photographs would include the complete table, underside, joints, surface marks and any labels. Lighting and camera position would be noted so later pictures could be compared fairly. Existing dents would be distinguished from loose fragments, and observations kept separate from uncertain explanations. The cup ring would be described, not immediately assigned a treatment.
The unstable table would be taken out of use. We would not place weight on it to produce a dramatic demonstration. If the coating, construction or age raised a hazard or significance concern, the next step would be specialist assessment rather than a trial with an abrasive pad. Pausing is part of a complete process.
Make a small, testable treatment proposal
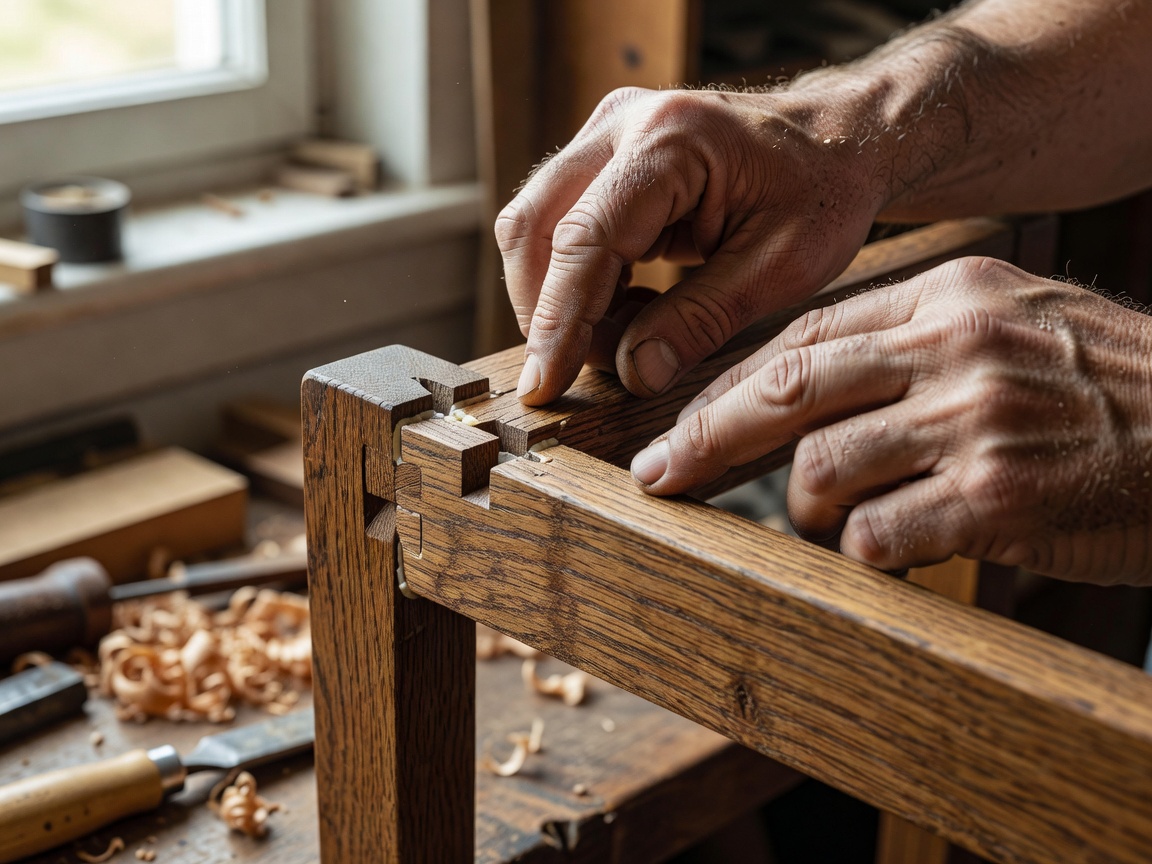
Suppose informed examination indicates that the leg movement comes from a failed joint rather than a split through the rail. The proposal would address that joint, not dismantle every connection because the tools are already out. Any decision to open it would depend on safe access, the condition of surrounding material and the ability to avoid unnecessary damage.
Surface work would be considered separately. A discreet cleaning test might establish whether a removable deposit is contributing to the uneven appearance. If the finish softened or colour transferred unexpectedly, the test would stop. There is no requirement for every mark to disappear before the structural work can count as successful.
The repair brief is not “make it new.” It is “make the next chapter possible.”
The work between the pictures
A suitable repairer would document the joint as found, select a compatible method and record any new material. Clamping arrangements would support the assembly rather than force a distorted part into line. Product instructions and the actual conditions would govern working and curing time; there is no universal overnight promise that fits every adhesive and joint.
During this stage, the table might look less complete than it did at the start. That is why process photographs are valuable. They explain how the outcome was achieved and what was retained. A single polished final image cannot tell a reader whether original material was conserved, replaced or hidden under filler.
The decision record
- Preserve: sound finish, worn edge, identifying marks and usable original parts.
- Investigate: the moving joint and the nature of surface deposits.
- Change only if justified: failed adhesive or irreparably damaged local material.
- Leave unresolved if necessary: a cosmetic ring that cannot be reduced safely.
After: compare against the actual brief
The final assessment would ask whether the joint repair meets the intended use, whether surrounding surfaces remain sound and whether the work has introduced new distortion. A qualified assessment is especially important where failure could cause injury. A pleasing photograph is evidence of appearance, not proof of structural safety.
For visual comparison, we would use similar light, viewpoint and distance. We would disclose changed lighting or image adjustments rather than letting them impersonate a treatment result. If photographs from the same object and project were unavailable, we would not combine unrelated pieces into a before-and-after claim.
Leave the next person a better starting point
The final note would describe treatment areas, materials used, remaining marks and any limits on handling or use. The owner would receive a simple maintenance plan: avoid damp and direct heat, lift rather than drag, and monitor the repaired area. Original fragments and useful records would remain associated with the piece.
In this scenario, the cup ring may remain. The table may still look like an old table, which is exactly the point. Its transformation lies in a clearer understanding of its condition, a justified repair and a future that does not depend on erasing its past. A satisfying reveal can show restraint as well as shine.